
Conditional Layout
Conditional Layout
Introduction
At times, when developing a store, we need to create conditional layouts that would apply only to a specific context. We have already seen that when using different devices, it is possible to condition layout using Responsive Layout, but what if we wanted, for example, to have a different product page for specific products? This is what the Conditional Layout is for.
Optional setup
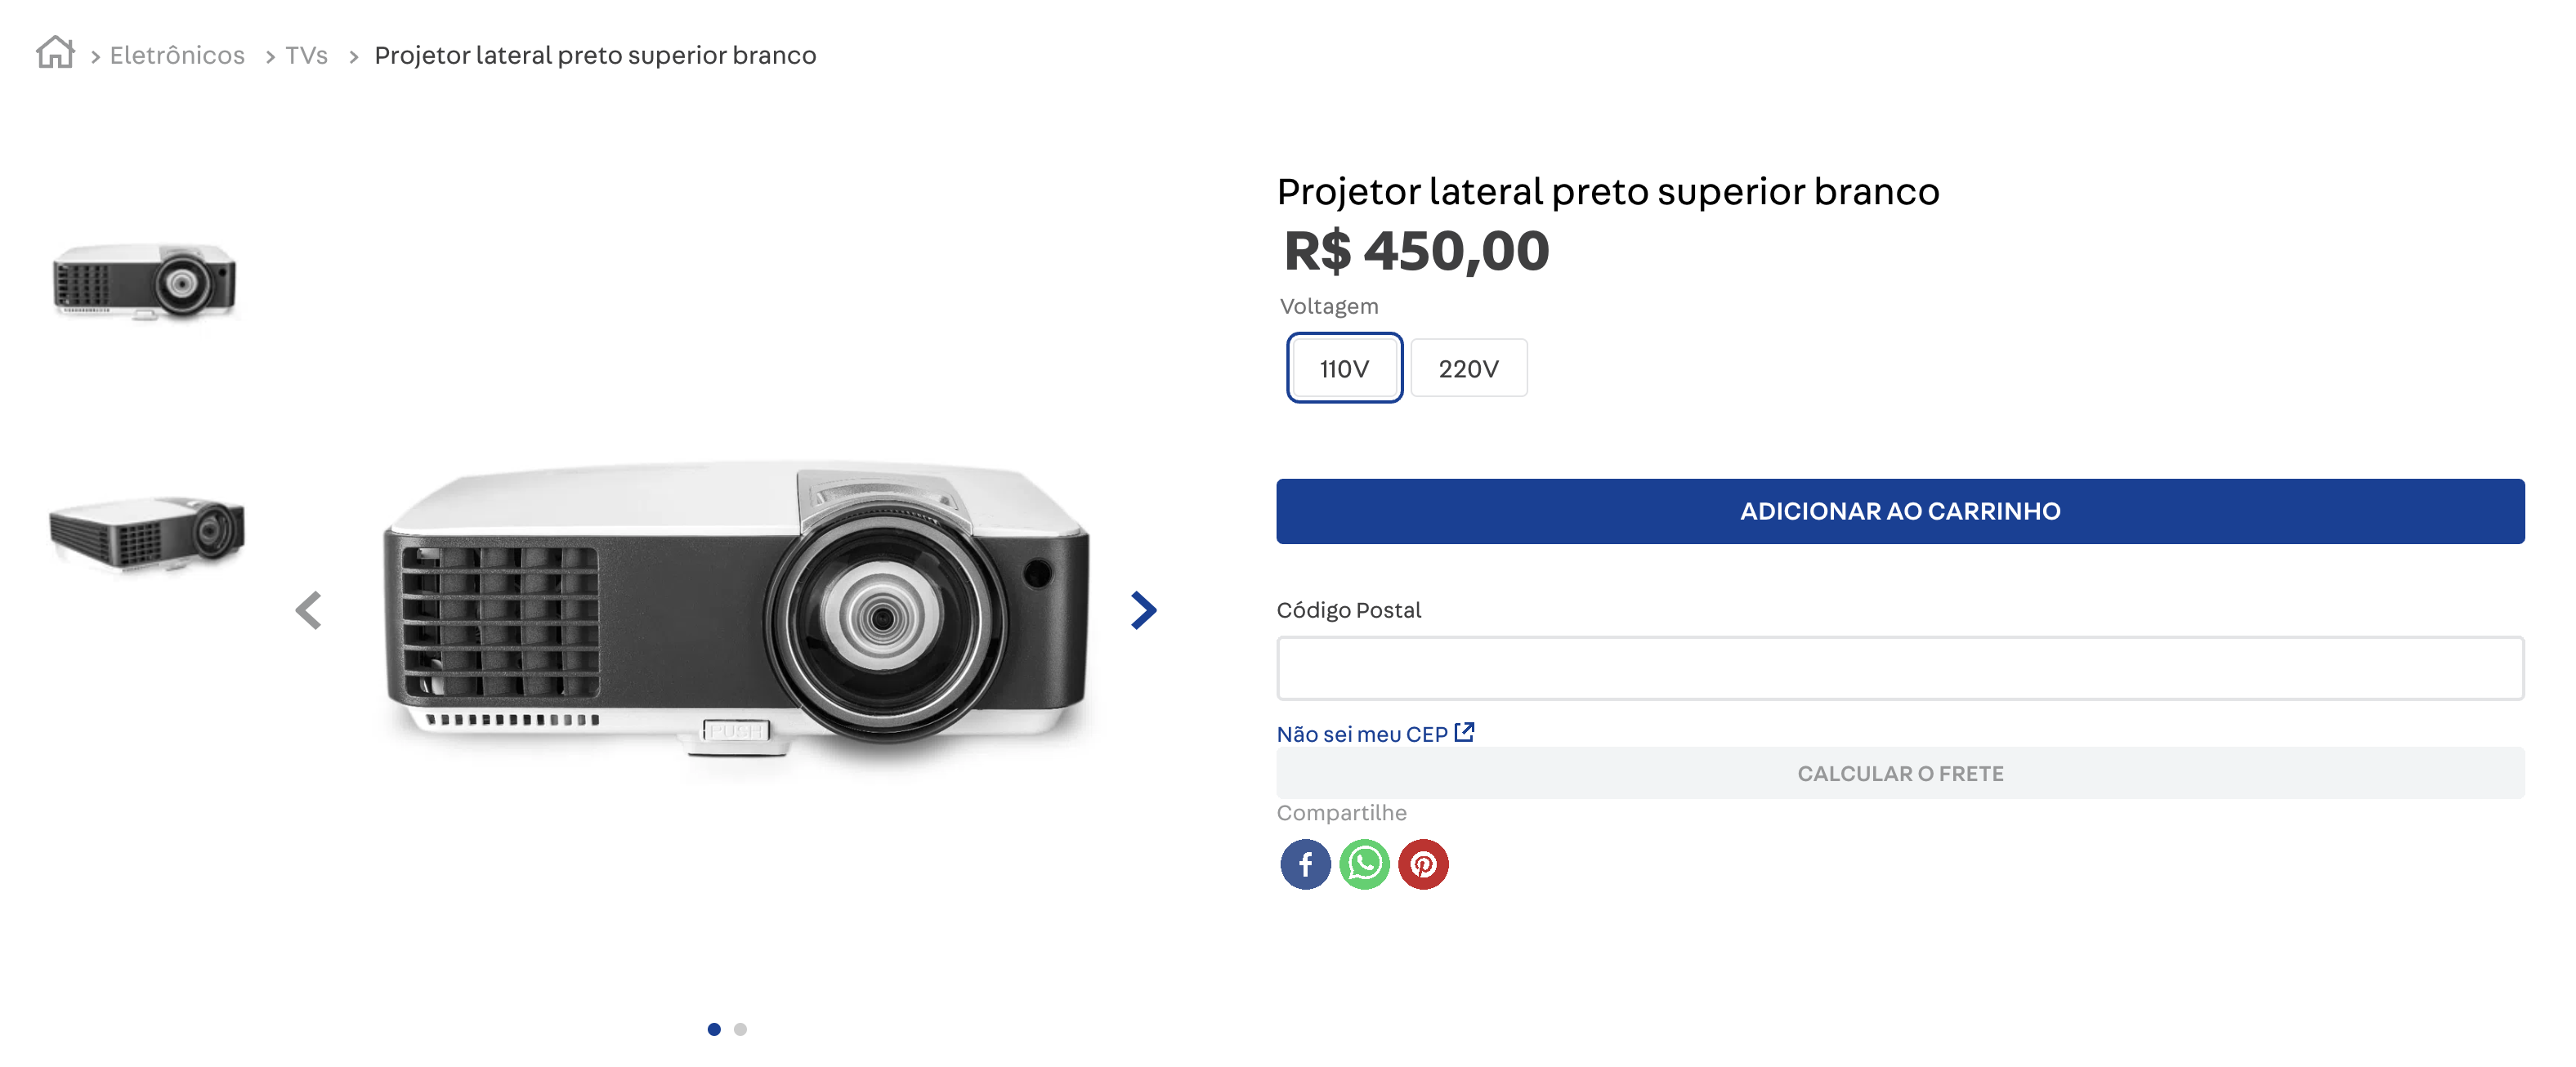
To create a conditional product page layout it is necessary, initially, to have a product page. If you have not already defined a product template for your store, copy the one below:
//product.jsonc
{
  "store.product": {
    "children": [
      "flex-layout.row#product-breadcrumb",
      "flex-layout.row#product-main"
    ]
  },
  "flex-layout.row#product-breadcrumb": {
    "props": {
      "marginTop": 20
    },
    "children": ["breadcrumb"]
  },
  "flex-layout.row#product-main": {
    "props": {
      "colGap": 9,
      "rowGap": 7,
      "marginTop": 4,
      "marginBottom": 7,
      "paddingTop": 7,
      "paddingBottom": 7,
      "blockClass": "product-main"
    },
    "children": ["product-images", "flex-layout.col#right-col"]
  },
  "product-images": {
    "props": {
      "displayThumbnailsArrows": true,
      "thumbnailsOrientation": "vertical"
    }
  },
  "flex-layout.col#right-col": {
    "props": {
      "preventVerticalStretch": true,
      "rowGap": 0
    },
    "children": [
      "product-name",
      "product-price#product-details",
      "sku-selector",
      "flex-layout.row#buy-button",
      "shipping-simulator",
      "share#default"
    ]
  },
  "product-price#product-details": {
    "props": {
      "showInstallments": true,
      "showSavings": true
    }
  },
  "flex-layout.row#buy-button": {
    "props": {
      "marginTop": 4,
      "marginBottom": 7
    },
    "children": ["buy-button"]
  },
  "share#default": {
    "props": {
      "social": {
        "Facebook": true,
        "WhatsApp": true,
        "Twitter": false,
        "Pinterest": true
      }
    }
  }
}
By doing this, we will have a product page like the one shown below:
Activity
- We are going to create an exclusive banner for the Refrigerator Retro refrigerator, for this, use as a first child of the
store.productacondition-layout.product:
//product.jsonc
{
  "store.product": {
    "children": [
+     "condition-layout.product"
      ...
    ]
  }
  ...
}- Then define the
condition-layout.product, with a specific condition for the Retro Mixer:
//product.jsonc
{
  ...
+ "condition-layout.product": {
+   "children": [
+    "condition.product#retro-mixer"
+   ]
+ }
}
- Now, we need to define the condition for the mixer.
Condition.product requires prop conditions to define which conditions should be applied (see documentation), a condition is divided into three parts:
- subject: is the data that will be used for comparison purposes, in our case we will use
productId, in the documentation it is possible to see all the available options; - verb: is the comparative method, we will use
isto validate ifproductIdis for a specific product, but we could use:is,is-not,containsordoes -not-contain; - object: is the value we want to compare, in our case, we will use productId
20.
Thus, the object formed is:
//product.jsonc
{
  ...
+  "condition.product#retro-mixer": {
+   "props": {
+     "conditions": [
+       {
+         "subject": "productId",
+         "verb": "is",
+         "object": "20"
+       }
+     ]
+   },
+   "children": ["image#retro-mixer-banner"]
+ }
}
NOTE: If you are taking the course in your own store, identify the productId of the product you want to customize and enter the value in the object field. You find out the value by refreshing the page, opening your browser's console and typing __RUNTIME __. Route.params.id:

- Finally, let's define the retro banner:
//product.jsonc
{
...
+ "image#retro-mixer-banner": {
+ "props": {
+ "src": "https://appliancetheme.vtexassets.com/assets/app/src/retroimage___92a8271aac7c51d2059193bdbe019016.jpg",
+ "width": "100%",
+ "height": "200px",
+ "blockClass": "cover"
+ }
+ }
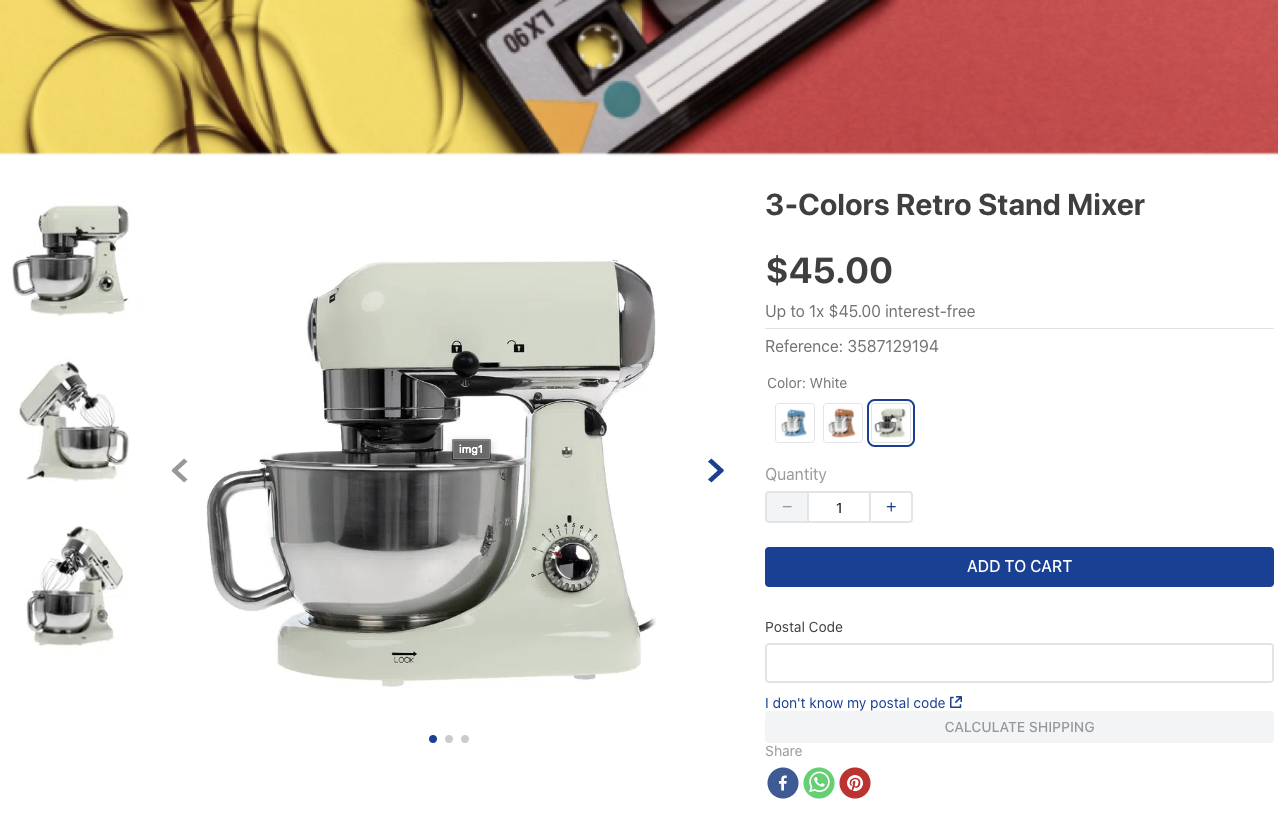
}Visit the tested product page to see the layout working, if you are using ʻappliancetheme` and the product is a retro mixer, the url will be:
https://{{seuworkspace}}--appliancetheme.myvtex.com/3-colors-retro-stand-mixer/p:
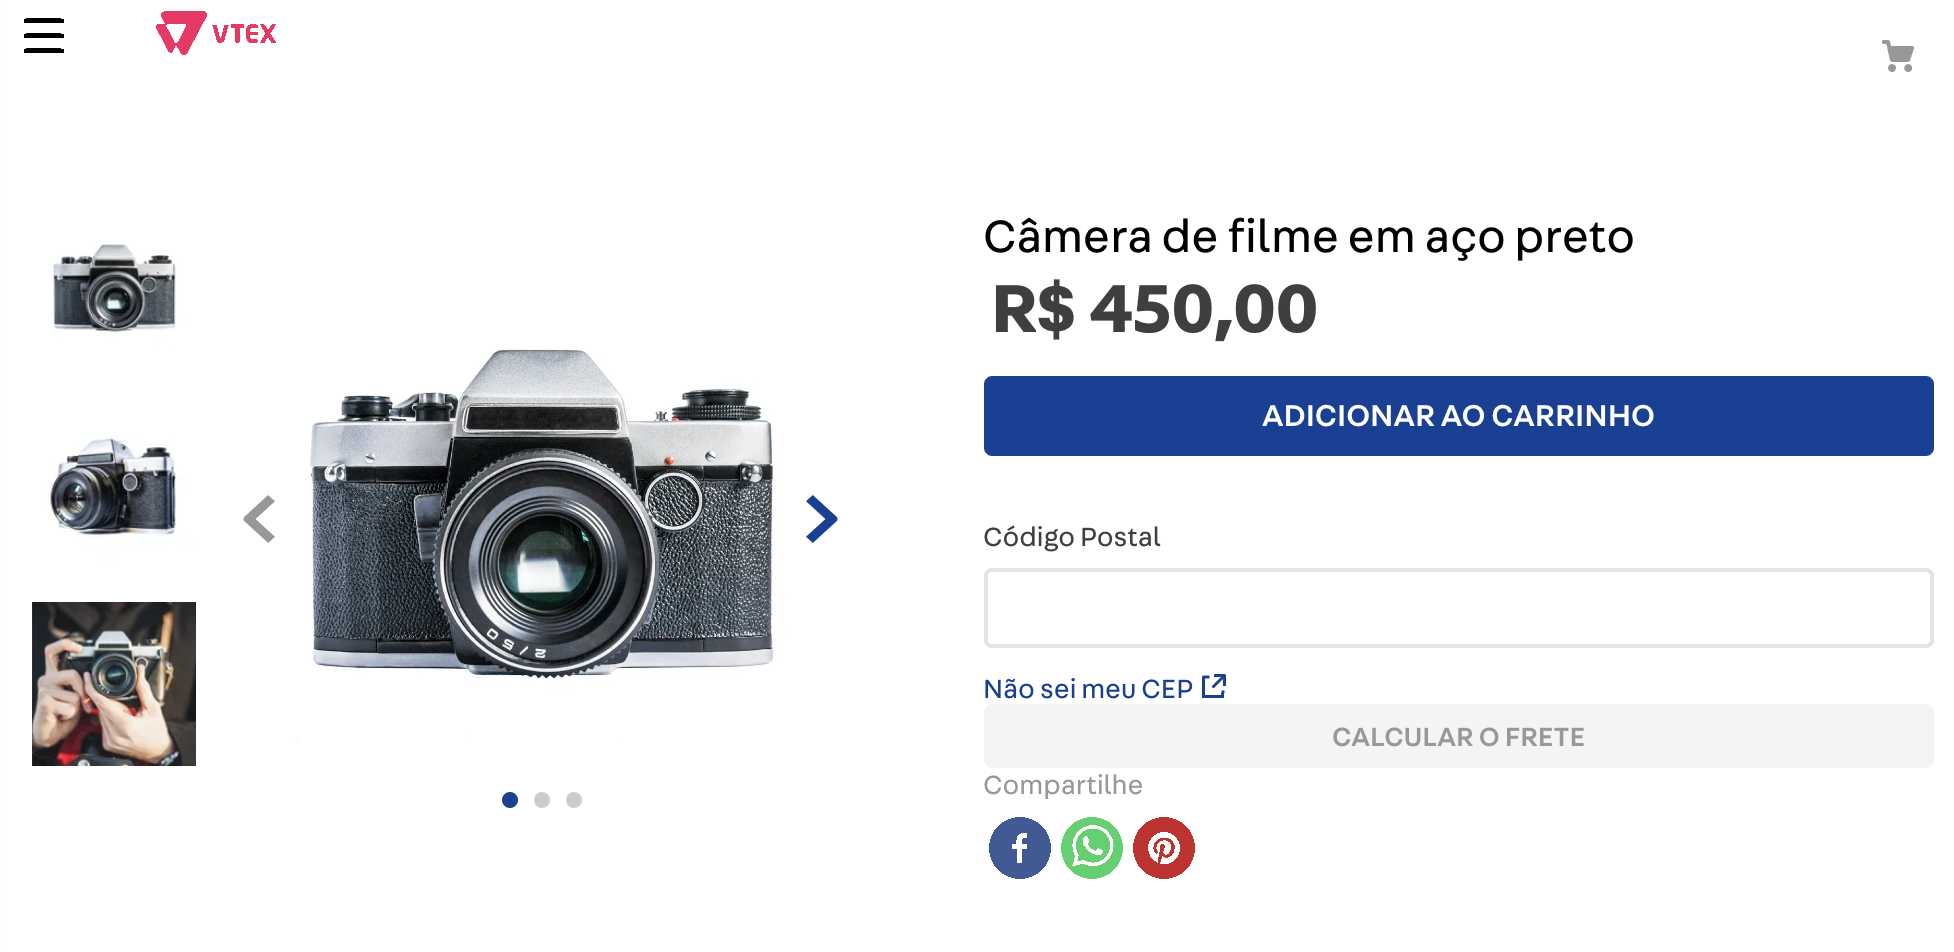
To ensure that the conditional layout actually works, visit any other product page, and verify that banner is not applied:
End
We reached the last step of the course and learned how to create complex layouts by leveraging simpler blocks, we did not explore all possible layouts, but the idea of all of them is very similar, to learn more visit the section of LAYOUT APPS on the Developer Portal.
Any questions?
See the answersheet for this step or check our [office hours] on the VTEX Developers channel(https://www.youtube.com/c/VTEXDevelopers)

Help us make this content better!
VTEX IO courses are open source. If you see something wrong, you can open a pull request!
Make a contributionUpdated about 1 year ago