
Modifying the countdown block to have configurable styles
Modifying the countdown block to have configurable styles
Introduction
Now that we have implemented the countdown, how about adding a little customization? In this step, you will learn basic concepts about CSS handles and Tachyons to customize the style of your app.
CSS Handles
CSS handles are used to customize your store's components through CSS classes in the theme code. All settings are defined through the app vtex.css-handles, responsible for declaring all the customization points of your block.
By defining the names of your handles and adding them to their respective HTML elements, it is possible to give the theme's user customization points that allow them to create flexible layouts.
Tachyons
Tachyons is a framework for functional CSS. Unlike other known frameworks, like Bootstrap, it does not have "pre-built" UI components. In fact, its purpose is, precisely, separate the CSS rules into small, reusable parts. This type of strategy is commonly known as Subatomic Design System and, if you are interested, you can find a reference in this link. This strategy makes frameworks like Tachyons very flexible, scalable and fast.
A lot of the Tachyons' definitions can be changed, so that your store will have a more customized style. To do this, just define a JSON file in the styles/configs folder; this information can be found in more detail at: Customizing styles on VTEX IO.
Customizing your block
-
First, import the
useCssHandleshook. To do so, return toCountdown.tsxand do the import:// react/Countdown.tsx import { useCssHandles } from 'vtex.css-handles' -
Now, define in a Array all necessary handles (in this case, only
'countdown'will be used):// react/Countdown.tsx const CSS_HANDLES = ['countdown'] -
After defining the array, let's use the
useCssHandlesin the componentCountdownto define thecountdownhandle:// react/Countdown.tsx const Countdown: StorefrontFunctionComponent<CountdownProps> = ({ targetDate = DEFAULT_TARGET_DATE }) => { const [timeRemaining, setTime] = useState<TimeSplit>({ hours: '00', minutes: '00', seconds: '00' }) + const handles = useCssHandles(CSS_HANDLES) tick(targetDate, setTime) return ( <div> <h1> { `${timeRemaining.hours}:${timeRemaining.minutes}:${timeRemaining.seconds}` } </h1> </div> ) } -
At last, it is needed to use the handle in the component to see the customization. For this, use the prop
classNamewith the classes to be used and the Tachyons classes, for global styles.// react/Countdown.tsx import React from 'react' ... const Countdown: StorefrontFunctionComponent<CountdownProps> = ({ targetDate = DEFAULT_TARGET_DATE }) => { const [timeRemaining, setTime] = useState<TimeSplit>({ hours: '00', minutes: '00', seconds: '00' }) const handles = useCssHandles(CSS_HANDLES) tick(targetDate, setTime) return ( + <div className={`${handles.countdown} c-muted-1 db tc`}> {`${timeRemaining.hours}:${timeRemaining.minutes}:${timeRemaining.seconds}`} </div> ) }
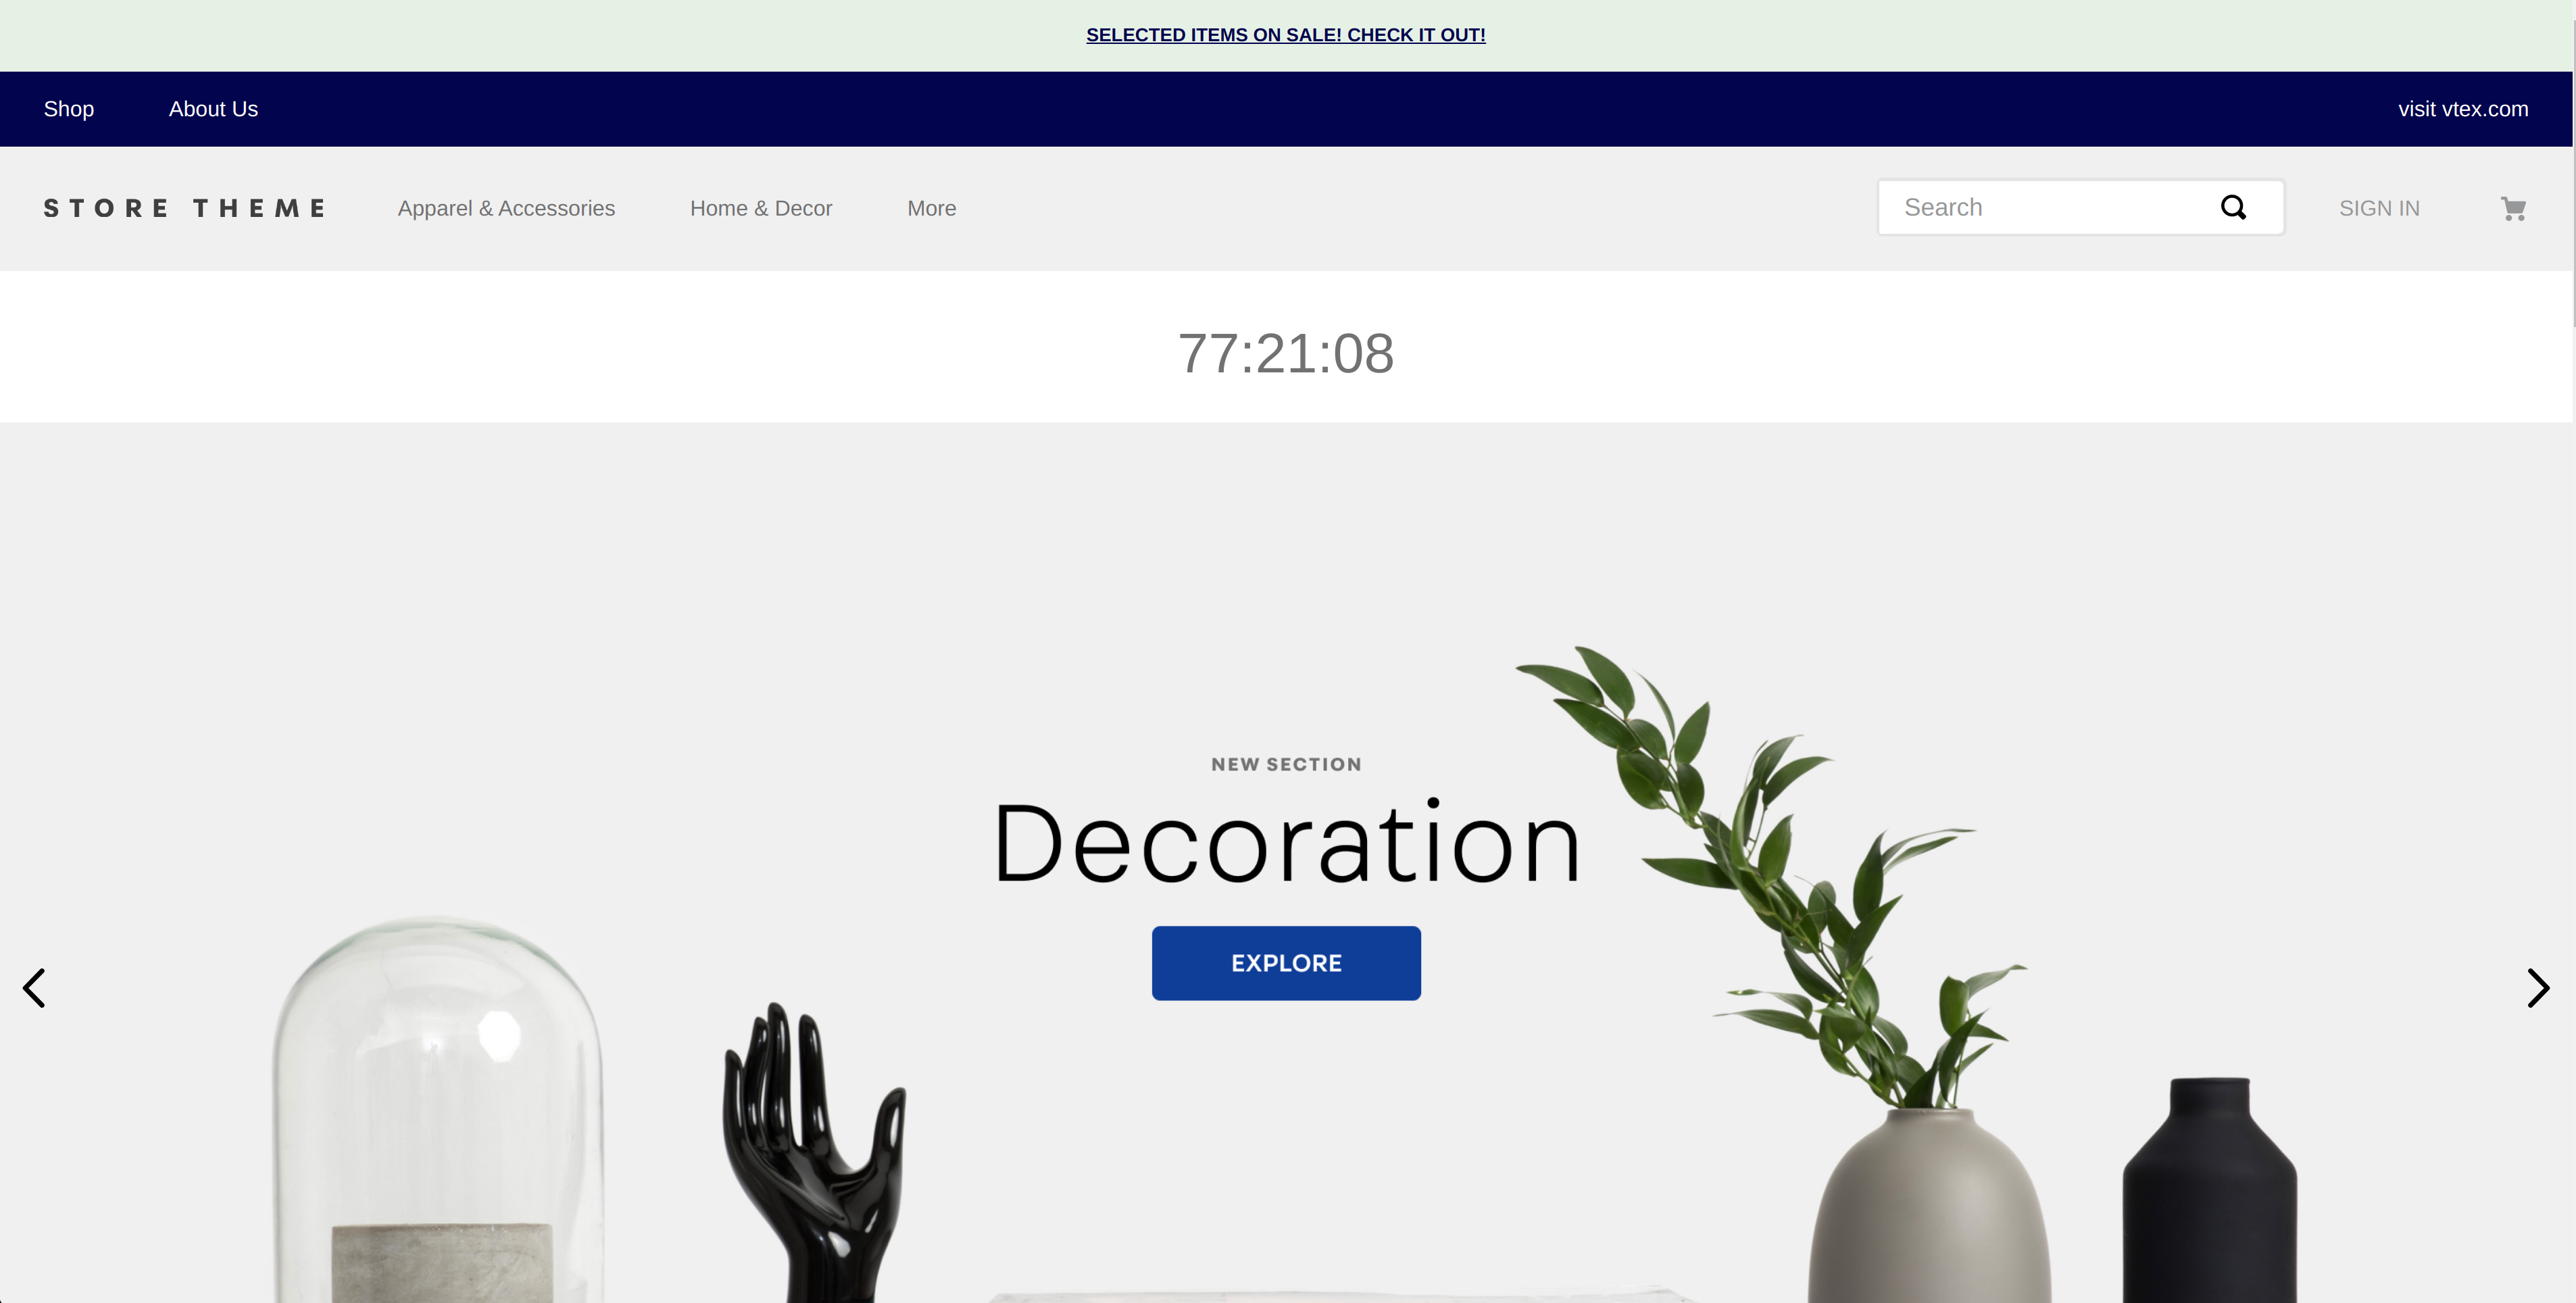
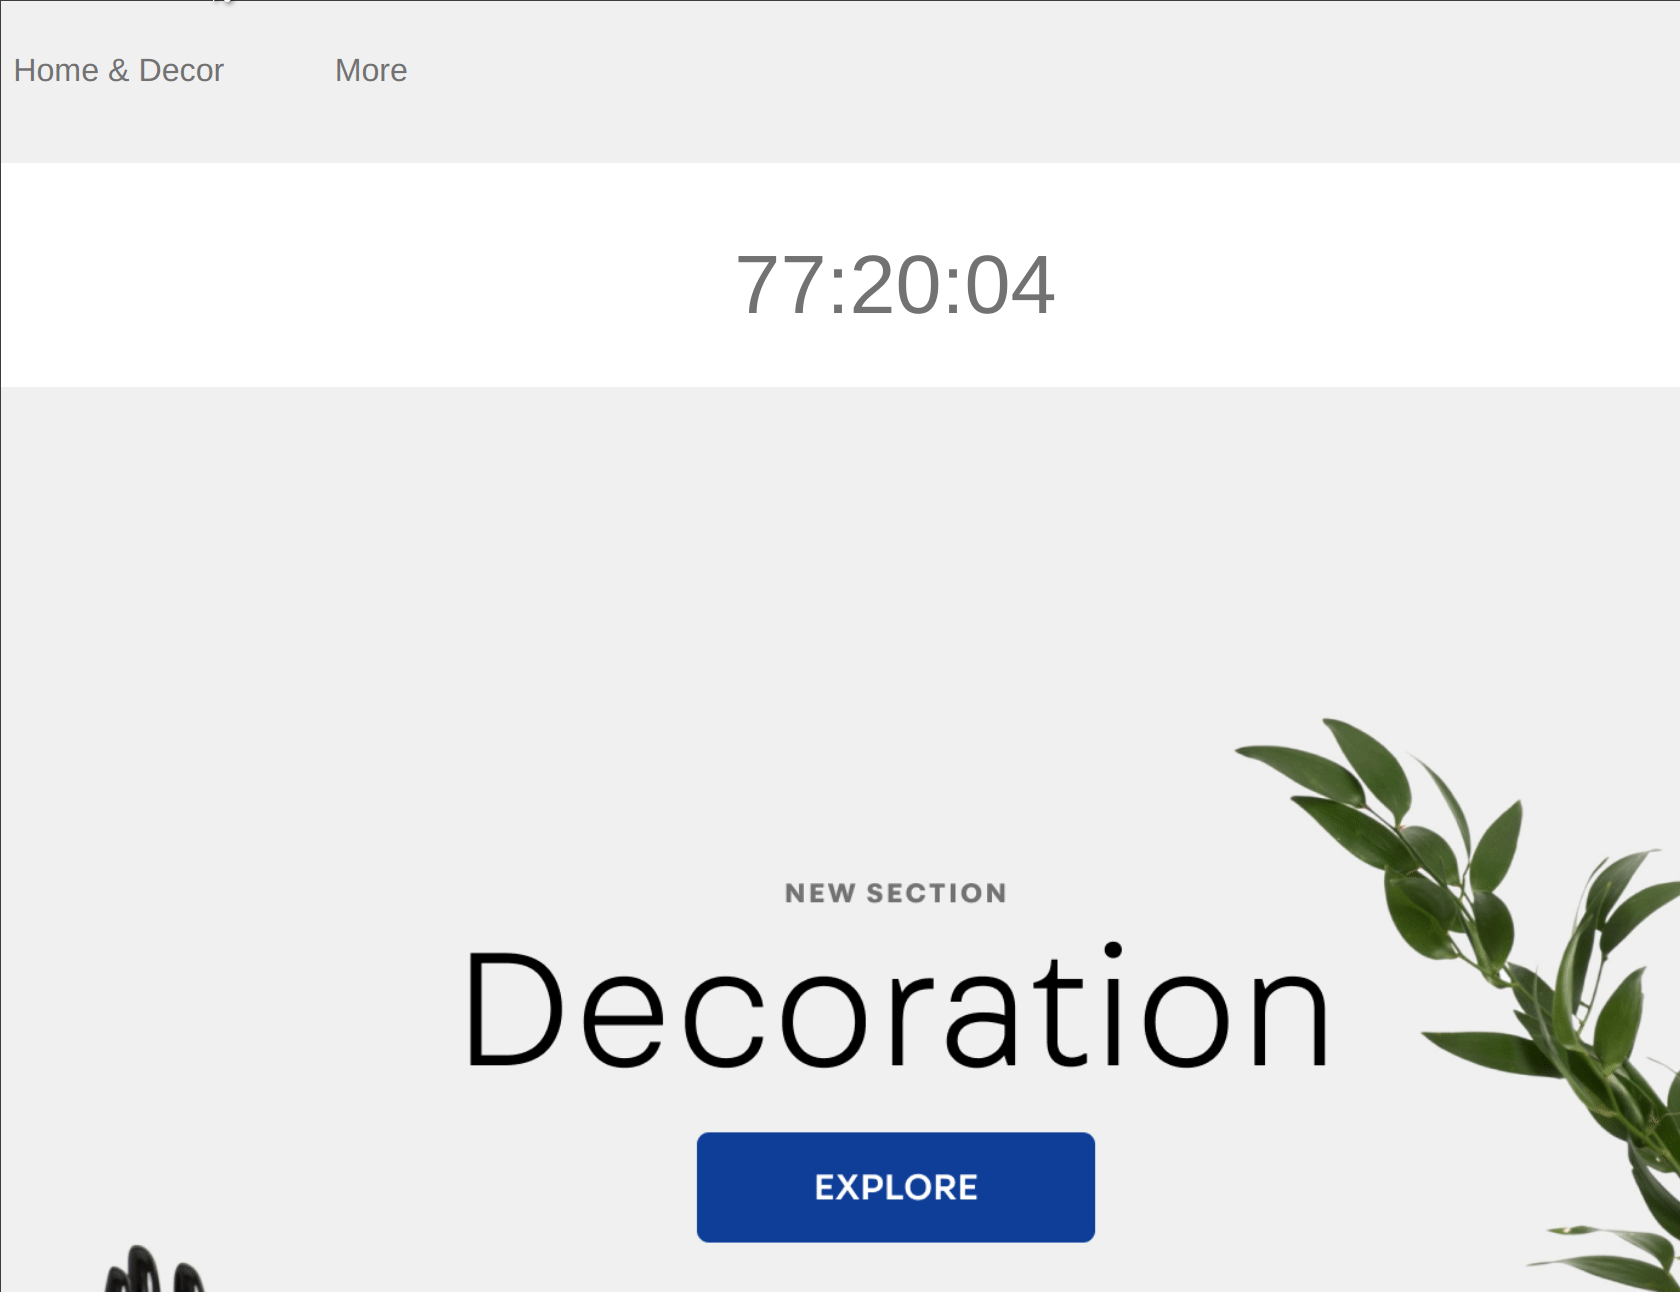
Let's see the result?
Any questions?
See the answersheet for this step or check our office hours on the VTEX Developers channel.
Help us make this content better!
VTEX IO courses are open source. If you see something wrong, you can open a pull request!
Make a contribution