
Creating the countdown block feature
Creating the countdown block feature
Introduction
Now we covered the component's basics, it's time to implement the countdown effectively. For that, we need to use a React hook called useState.
It is called within the functional component to update and consume the component state. The state represents the component's current state. The
useStatereturns a pair: the current state value and a function to update it.
Making your countdown work!
-
First, we need to import a few functions and types to continue. Inside the Countdown component, import the following:
//react/Countdown.tsx
import React, { useState } from 'react'
import { TimeSplit } from './typings/global'
import { tick, getTwoDaysFromNow } from './utils/time'
The
getTwoDaysFromNowfunction will be used to deal with edge cases. It'll be explained later on in this step. -
Next step is to add the state update hook (
useState)://react/Countdown.tsx const Countdown: StorefrontFunctionComponent<CountdownProps> = ({ targetDate }) => { + const [timeRemaining, setTime] = useState<TimeSplit>({ + hours: '00', + minutes: '00', + seconds: '00' + }) return ( <div> { targetDate } </div> ) } -
After doing that, we'll add a default constant
targetDatefor the edge case where the prop is not defined. We'll use as fallback a date that is defined as two days from the current date, this date is calculated on an util function that was previously imported from the/utilsfolder.//react/Countdown.tsx const DEFAULT_TARGET_DATE = getTwoDaysFromNow() -
Now, we need to add the
tickfunction and theDEFAULT_TARGET_DATEconstant to make the countdown work://react/Countdown.tsx const Countdown: StorefrontFunctionComponent<CountdownProps> = ({ targetDate = DEFAULT_TARGET_DATE }) => { const [timeRemaining, setTime] = useState<TimeSplit>({ hours: '00', minutes: '00', seconds: '00' }) + tick(targetDate, setTime) return ( <div> { targetDate } </div> ) } -
At last but not least, change the
h1so that it shows the countdown that we've created. For that, we need to use thetimeRemainingcurrent state://react/Countdown.tsx const Countdown: StorefrontFunctionComponent<CountdownProps> = ({ targetDate = DEFAULT_TARGET_DATE }) => { const [timeRemaining, setTime] = useState<TimeSplit>({ hours: '00', minutes: '00', seconds: '00' }) tick(targetDate, setTime) return ( <div> - <h1>{ targetDate }</h1> + <h1>{ `${timeRemaining.hours}:${timeRemaining.minutes}:${timeRemaining.seconds}` }</h1> </div> ) }
The countdown string formatting is in a
HH:MM:SSformat, made through anhours,minutesandsecondssplitting.
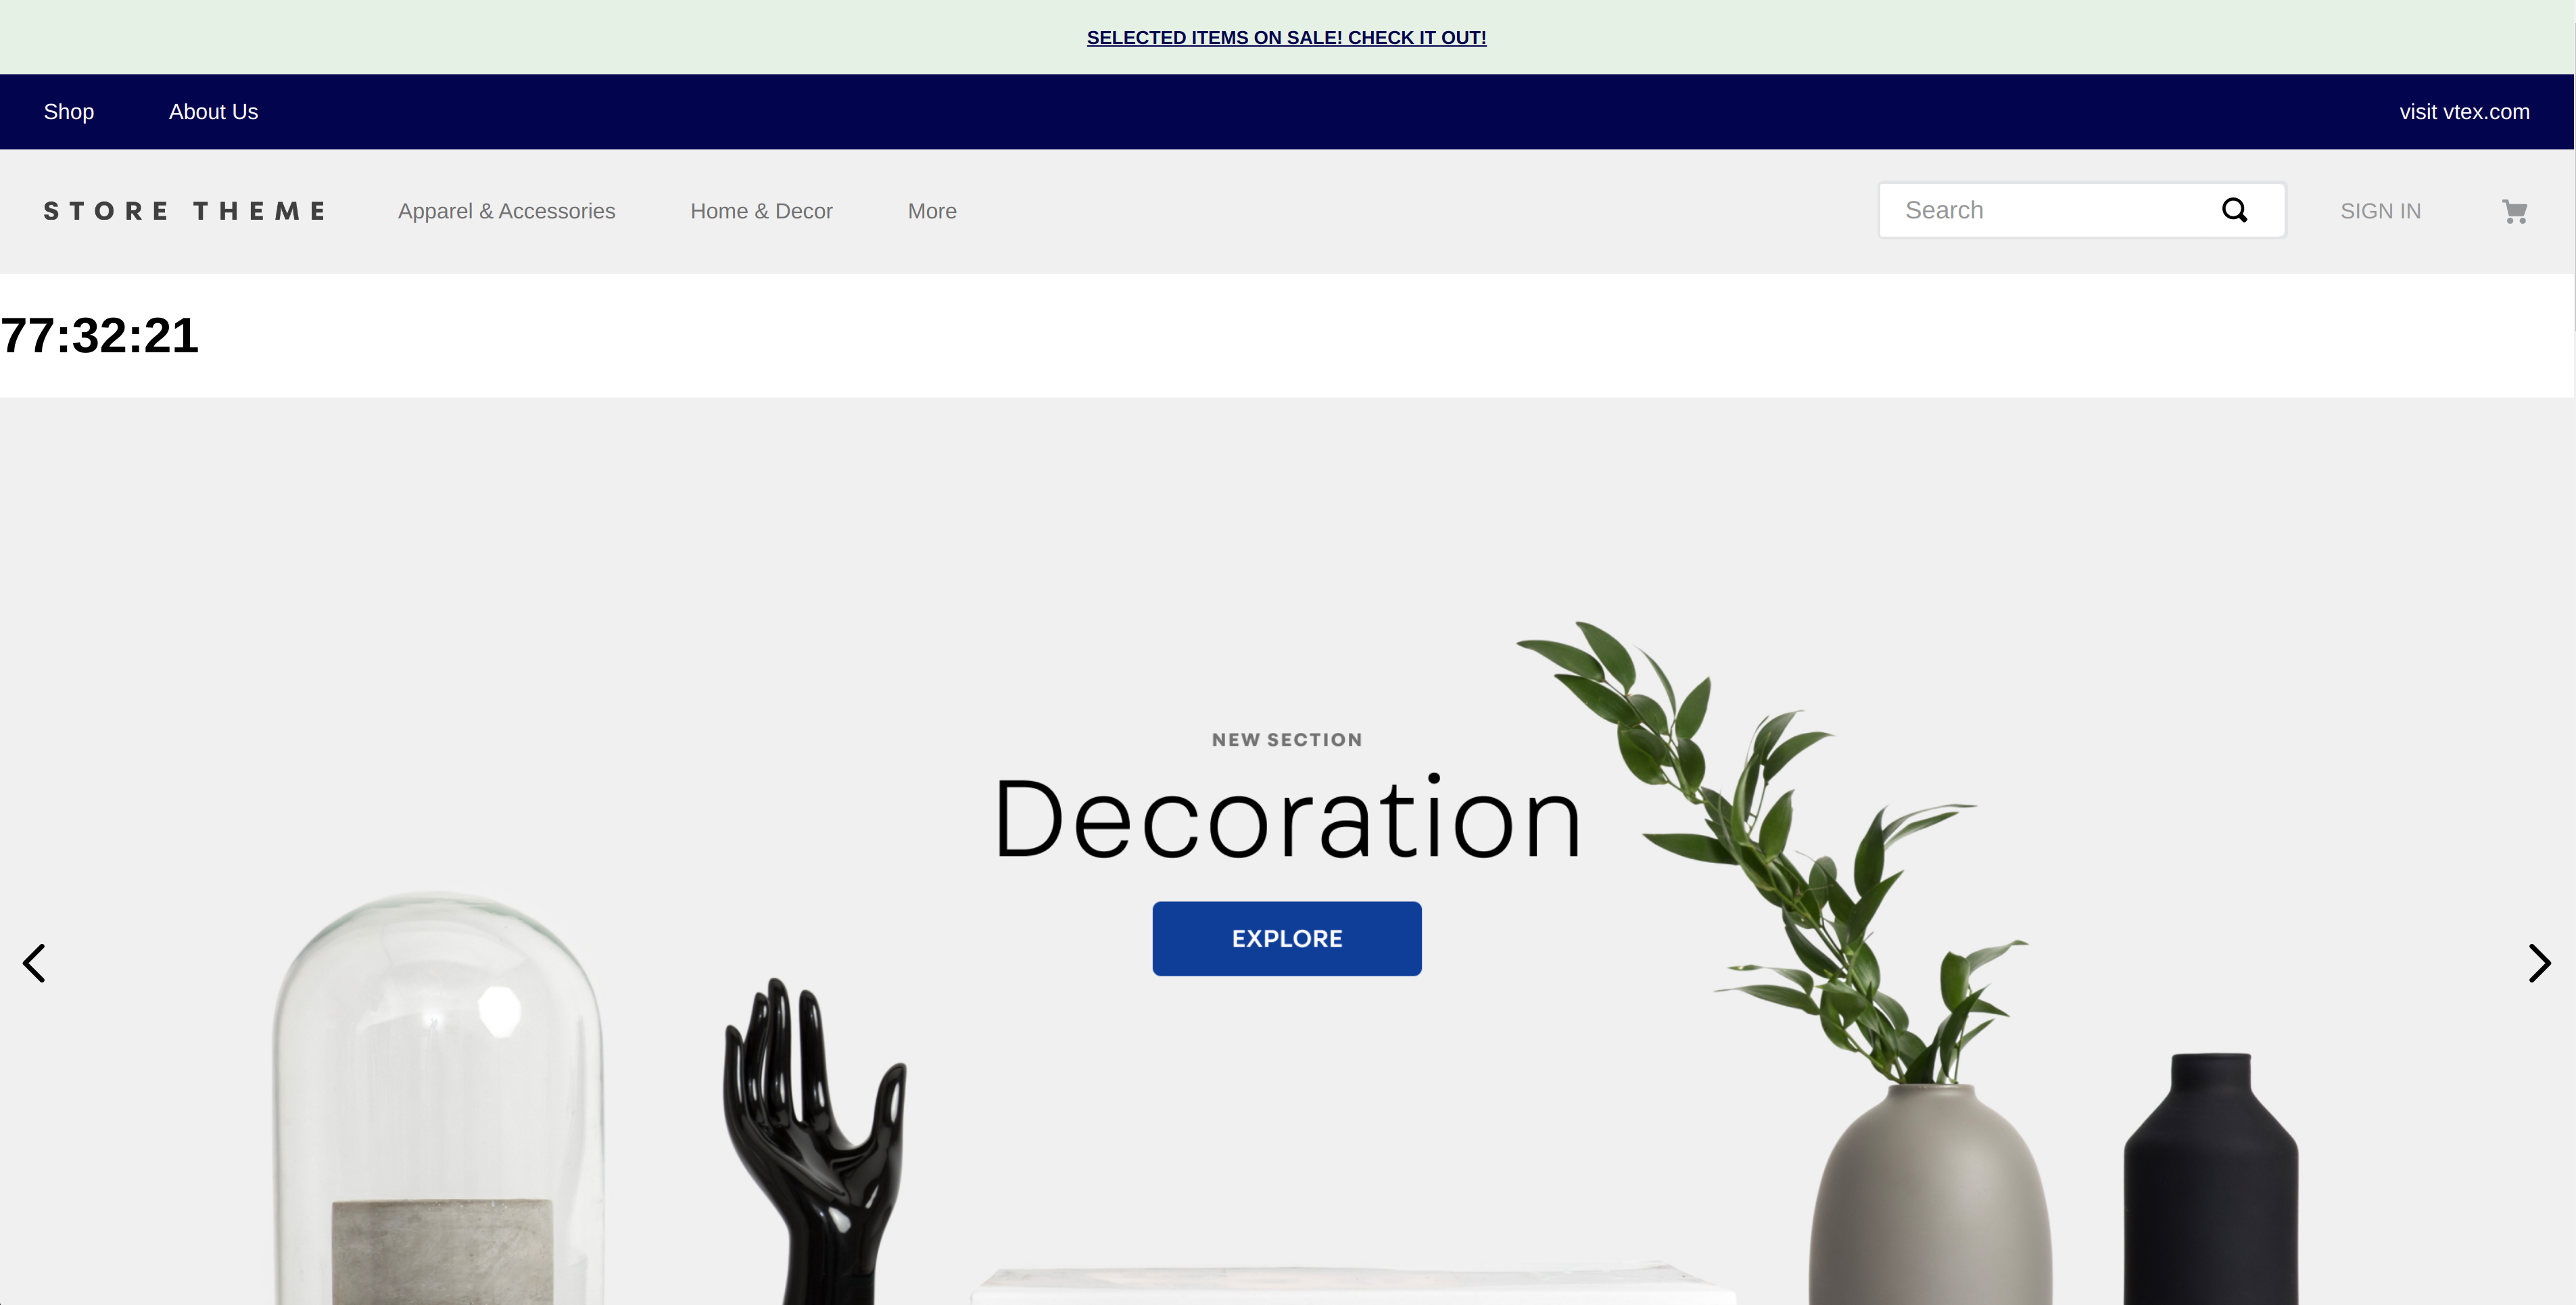
Therefore, with these changes, we'll see a real-time update of the countdown! The result on the homepage is this:

Any questions?
See the answersheet for this step or check our office hours on the VTEX Developers channel.
Help us make this content better!
VTEX IO courses are open source. If you see something wrong, you can open a pull request!
Make a contributionUpdated about 1 year ago